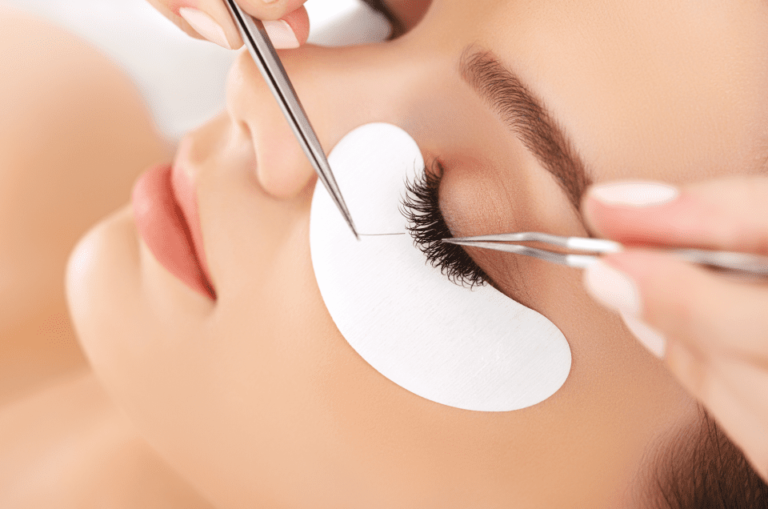
Achieving long, lifted lashes without the hassle of mascara or extensions is a beauty goal for many. With the growing popularity of lash lifts, many are turning to at-home lash lift kits to replicate the salon experience. But before diving into the process, it’s essential to understand what an at-home lash lift entails, the benefits, potential risks, and how to achieve salon-worthy results from the comfort of your own home.
What Is an At-Home Lash Lift?
An at-home lash lift is a semi-permanent treatment that enhances your natural lashes by lifting and curling them. Unlike lash extensions, which involve attaching synthetic lashes, a lash lift works by reshaping your natural lashes to make them appear longer and fuller. At-home kits have made it easier for people to perform this procedure without visiting a salon, offering a budget-friendly alternative.
Benefits of an At-Home Lash Lift
1. Cost-Effective
Salon lash lifts can be pricey, ranging anywhere from $50 to $150 per session. At-home lash lift kits typically cost between $20 and $50, making it a more affordable option for those who want beautiful, lifted lashes without breaking the bank.
2. Convenience
You can do the lash lift at your own pace and in the comfort of your home. This means no appointments, no waiting, and no rushing to make it to the salon.
3. Semi-Permanent Results
A lash lift can last 6 to 8 weeks, allowing you to wake up with lifted lashes every day. This is perfect for anyone looking for low-maintenance beauty options.
4. Customizable Curl
At-home lash lift kits often come with different rod sizes, allowing you to customize the level of curl you desire—whether it’s a subtle lift or a dramatic curl.
What You’ll Need for an At-Home Lash Lift
To perform an at-home lash lift, you’ll need a reliable lash lift kit, which typically includes:
- Perming solution: Softens the hair and helps reshape the lashes.
- Setting solution: Helps maintain the new lash shape.
- Silicone shields or rods: These are placed on your eyelids to lift your lashes.
- Adhesive: Used to attach your lashes to the rods.
- Lash tools: Typically small combs or applicators to help separate the lashes and ensure a smooth application.
Always choose a high-quality kit from a reputable brand, as safety is crucial when working near the eye area.
Step-by-Step Guide to an At-Home Lash Lift
Step 1: Prepare Your Lashes
Clean your lashes thoroughly to remove any makeup, oils, or debris. It’s important to start with clean lashes to ensure the lifting solutions work effectively.
Step 2: Apply the Silicone Rod
Choose the silicone rod size based on the level of curl you want. Attach the rod to your upper eyelid using the adhesive, making sure it sits snugly on your lash line.
Step 3: Attach Lashes to the Rod
Once the rod is in place, use the adhesive to stick your lashes onto the rod. Be careful to ensure each lash is separated and positioned evenly, as this will determine the final look.
Step 4: Apply Perming Solution
Using the applicator, apply the perming solution to your lashes. Be careful not to get the solution on your skin or in your eyes. Leave the solution on for the recommended time, usually around 8 to 12 minutes, depending on the kit instructions.
Step 5: Apply Setting Solution
After removing the perming solution, apply the setting solution to lock in the curl. This step helps ensure the lashes hold their new shape.
Step 6: Remove the Rod and Clean Lashes
Once the setting solution has done its job, carefully remove the silicone rod and cleanse your lashes. Make sure there’s no leftover adhesive or solution on your lashes.
Step 7: Enjoy Your New Lashes
Your lashes should now be beautifully lifted, giving you the appearance of longer, more voluminous lashes without the need for mascara or extensions.
Risks and Precautions
While at-home lash lifts can be convenient, they do come with risks. It’s important to take the following:
1. Potential Eye Irritation
The solutions used in a lash lift can cause irritation if they come into contact with your eyes. Always follow the instructions carefully, and if you experience any redness, itching, or discomfort, rinse your eyes immediately and discontinue use.
2. Over-Processing
Leaving the solutions on for too long can damage your lashes, causing them to weaken or even fall out. Stick to the recommended time in the kit instructions.
3. Allergic Reactions
Always perform a patch test before using any lash lift products. Apply a small amount of the solution to your wrist or behind your ear to check for any allergic reactions before applying it to your lashes.
Aftercare Tips for Long-Lasting Results
- Avoid water: Don’t get your lashes wet for at least 24 to 48 hours after the lift.
- Skip the mascara: For the first 24 hours, avoid wearing mascara or applying any eye makeup.
- Be gentle: Avoid rubbing your eyes or sleeping on your face to prevent crushing your newly lifted lashes.
- Use oil-free products: Oil-based products can weaken the lash lift, so stick to oil-free cleansers and makeup removers.
Conclusion
An at-home lash lift is a fantastic way to achieve naturally curled lashes without constant maintenance. While it’s an affordable and convenient option, it’s essential to follow the instructions closely and prioritize safety. With the right products and care, you can enjoy salon-quality results from the comfort of your own home.
Read Also : Why Every Woman Needs a Czech Harem Outfit in Her Closet


